Email Configuration and Templates
Notify and Control your end users with fully customizable emails.
What are Email configuration and templates?
Permit.io Email Configuration and Templates allow you to seamlessly integrate Elements features into a SMTP provider. This enables you to automatically send notifications and action controls to end users using SMTP provider. You can invite, approve, and engage with users efficiently, creating a streamlined workflow using smart and fully customizable emails.
Email Providers Supported
Permit Elements currently supports the following email provider:
- SMTP Provider
Setting up Email Configuration
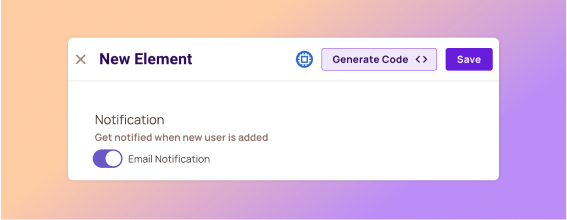
1. Turn on email notifications
The first step will be to turn on email notifications in the desired Element config. This will allow you to configure SMTP provider and templates. For example here, we are turning on email notifications for the User Management Element.

2. Fill the required fields
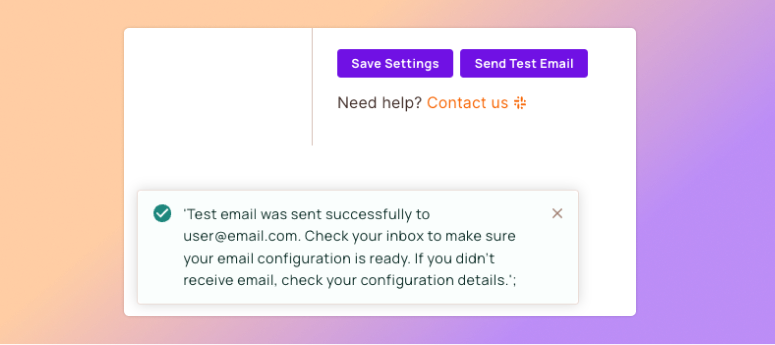
In the Element Settings Screen you will see a menu with the SMTP provider. Fill in the required fields:

Now you'll be able to send a test email to make sure everything is working correctly ✅:

3. Customize your email templates
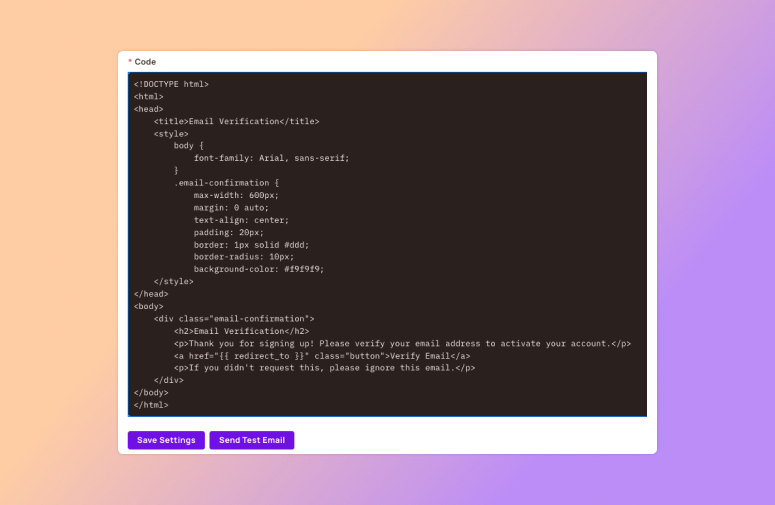
Now that you have your email provider set up, you can customize your email templates. For example, when setting up the User Management Element template, the end user that being invited will get a customized email.
After filling in the required fields, you can customize the email message using HTML and CSS.
Pay attention to keep the {{ redirect_to }} variable in your email message.
This variable will be replaced with the URL that you filled in the "Redirect To" field in the template itself.

That's it ! 👏 You can now send automatic and customized emails to your end users using your preferred email provider.
Supporting users invitation and approval User Management Element
After setting up your email provider and templates, you can now use the User Management Element to invite and approve new end users.
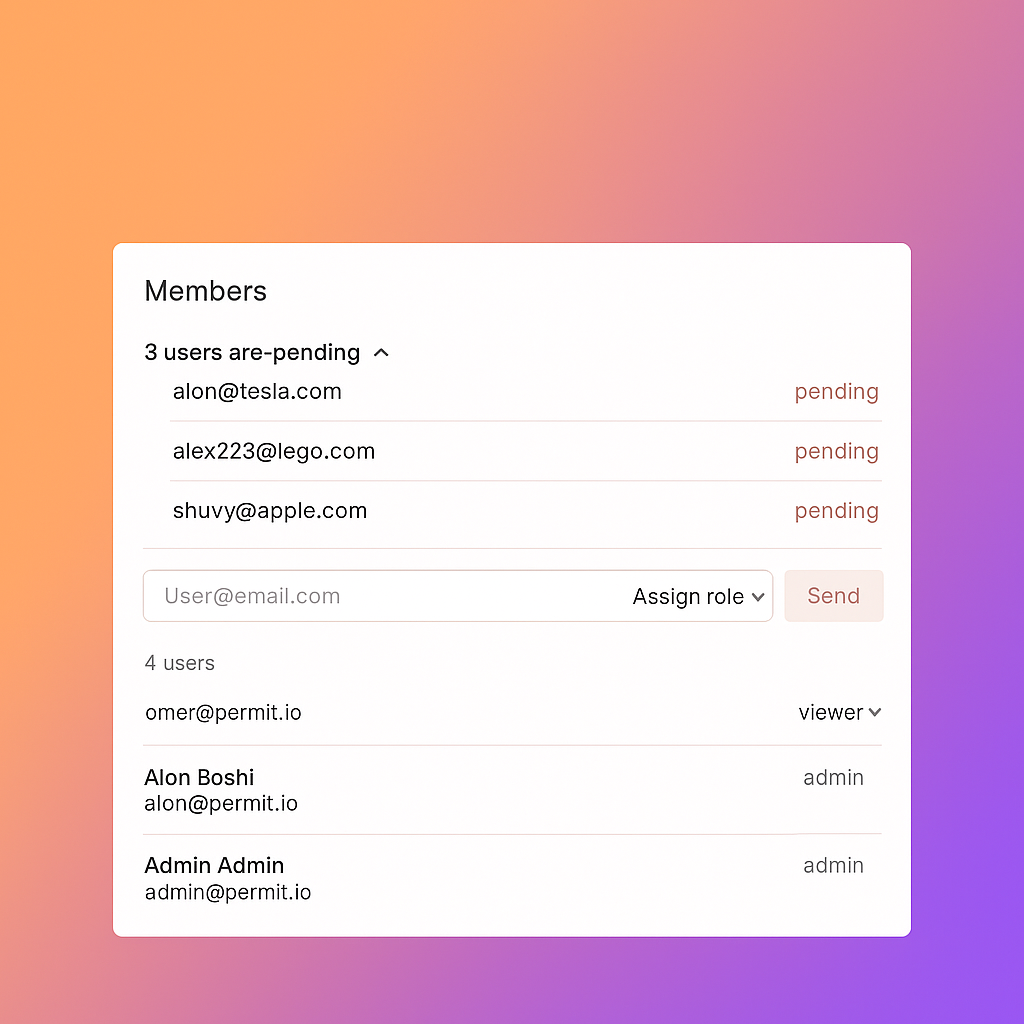
1. Invite a new end user using the User Management Element
Inviting a new user is as simple as adding the user email, selecting a role, and clicking the (changeable) "Send invite" button: Inviting Approving the invited user using an SDK

2. Approving the invited user using an SDK
After the user has been invited, they will receive an email with a URL link to approve their account.
In the URL link, there will be query parameter called invite_code that will be used to approve the user.
For example, the URL link will look like this:
https://test.com/?invite_code=ed32bc43e2194a80a5ef5e0339943b44
Using the invite code, you can approve that the user is a valid user using a valid email address. You can do this using the SDK of your choice, for example, using the Python SDK:
    import asyncio
    from permit import ElementsUserInviteApprove
    from permit import Permit

    permit = Permit(
        token="permit_key_*************_________",
    )

    approve_data = ElementsUserInviteApprove(
        email="user@gmail.com",
        key="user@gmail.com",
        attributes={}
    )
    approved_invite = await permit.api.user_invites.approve(
        user_invite_id="*******user_invite_id*****",
        approve_data=approve_data
    )
Now, the new approved user will be created and synced with the chosen role.