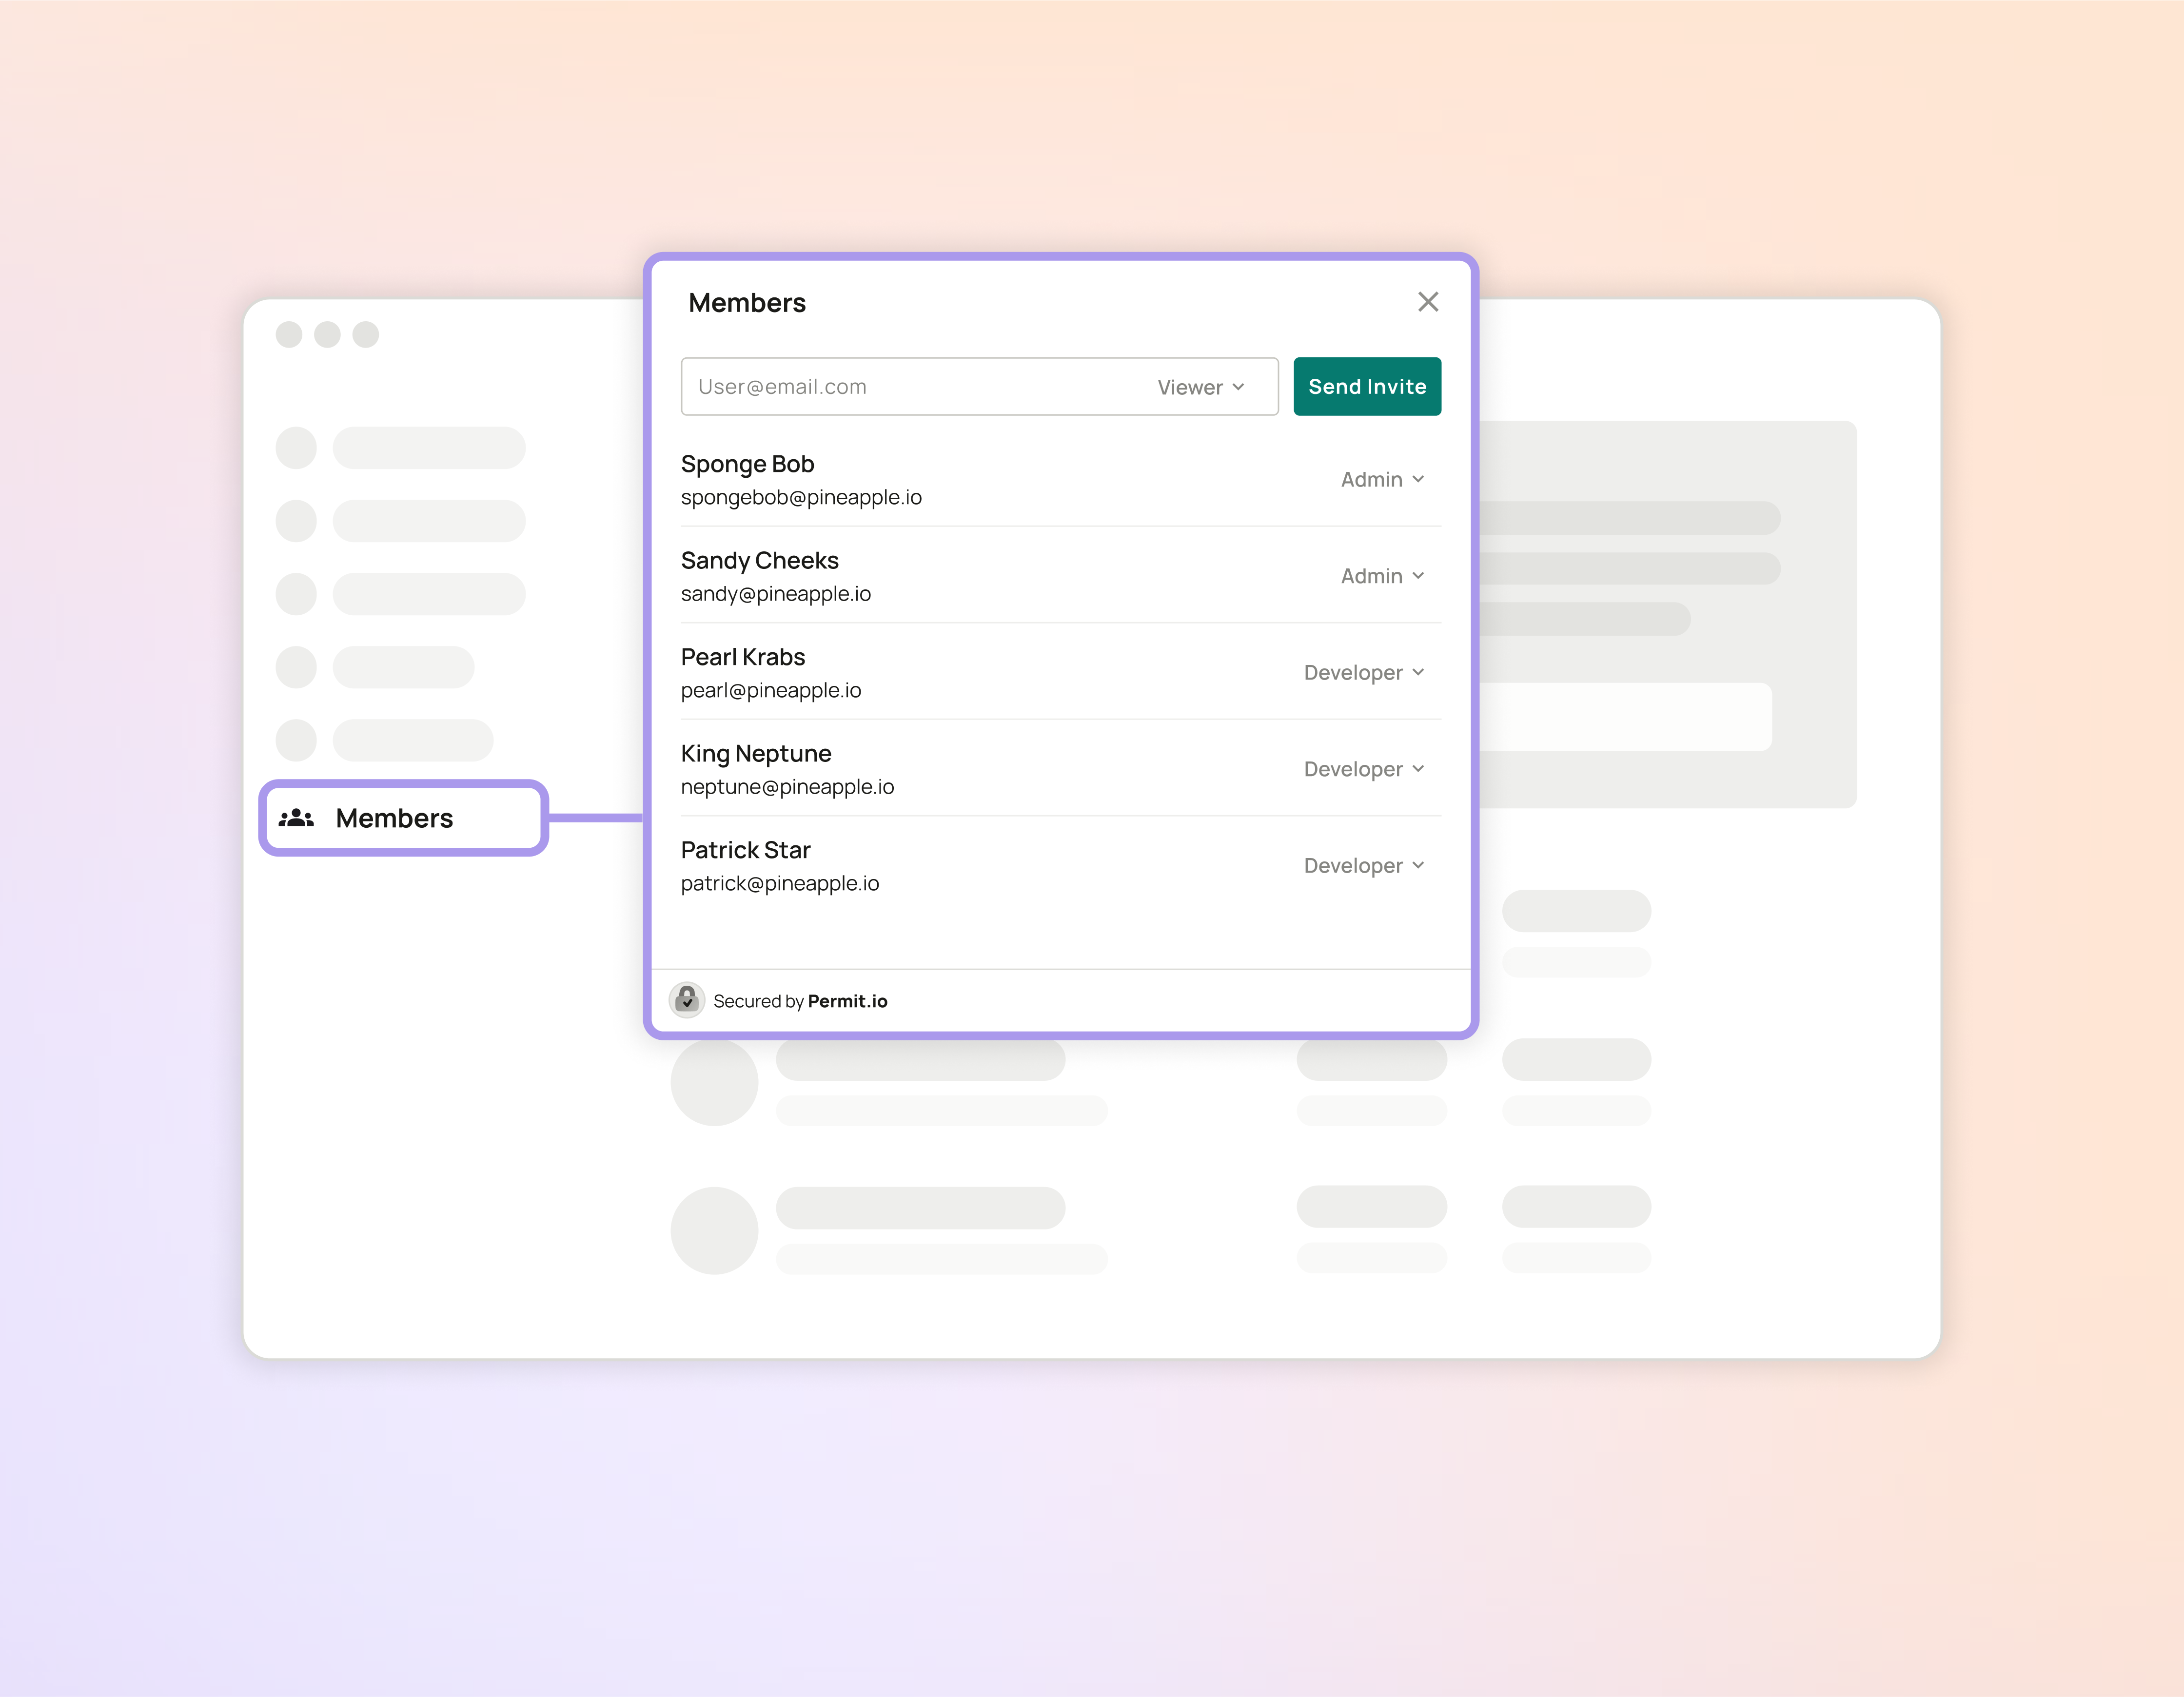
User Management Element
Effortlessly manage users and their permissions as a single secure, embeddable UI component.
The User Management Element is an embeddable UI component that lets you take control of your whole team, and give other team members specific permissions levels that reflect how they can manage other users on your team.
Understanding the Element
There are two primary ways you can configure permissions using this element:
Role-Based Access Control (RBAC) Roles:
What is it? - This method lets you manage system-level access based on roles. How does it work? - It's straightforward—assign predefined meta permission roles to determine what level of access a user has. Think of it as giving someone with a specific role, a new definition of what that role can do for this specific element.
Relationship-Based Access Control (ReBAC) Resource Roles:
What is it? - This method lets you manage access at a more granular level, allowing you to specify permissions for individual resource instances based on their type. How does it work? - Initially, the user selects the specific resource they want to manage. Based on the resource roles previously defined in Permit, users can drag these roles to align them with the desired meta-permission levels. This process determines which roles can interact with which resources.
Interacting with the UI
Once you've set permissions, the UI visualization on the right side of the element provides valuable feedback:
-
Role View: This lets users see how the element appears based on different permission levels and tenants. It's a useful way to confirm that you've set everything up correctly.
-
ReBAC Resource Switching: For those using ReBAC, there's an additional feature. Users can toggle between specific instances of a resource. This means they can view and manage permissions for individual resource instances.
Pending User Invitations
When Email Notification or Webhook Notification is checked, an email or webhook is sent when inviting a user.
The invited user will appear as Pending until the invitation is approved.
After approval, the user is added to the system with the role they were invited with.
Embedding the Element
Please check the Embedding Elements documentation for more information on how to embed the element into your application.