Getting Started
Welcome to Permit! In this quick tutorial, we will go over the basic steps of setting up your account with Permit and creating a very basic authorization policy. Let’s get started!
If you prefer to start with a video, this video will introduce you to the fundamental features within the Permit system with a comprehensive understanding of its capabilities.
1. Create a Permit account
The first step is creating an account. This account will be used to configure and manage the authorization layer of your application.
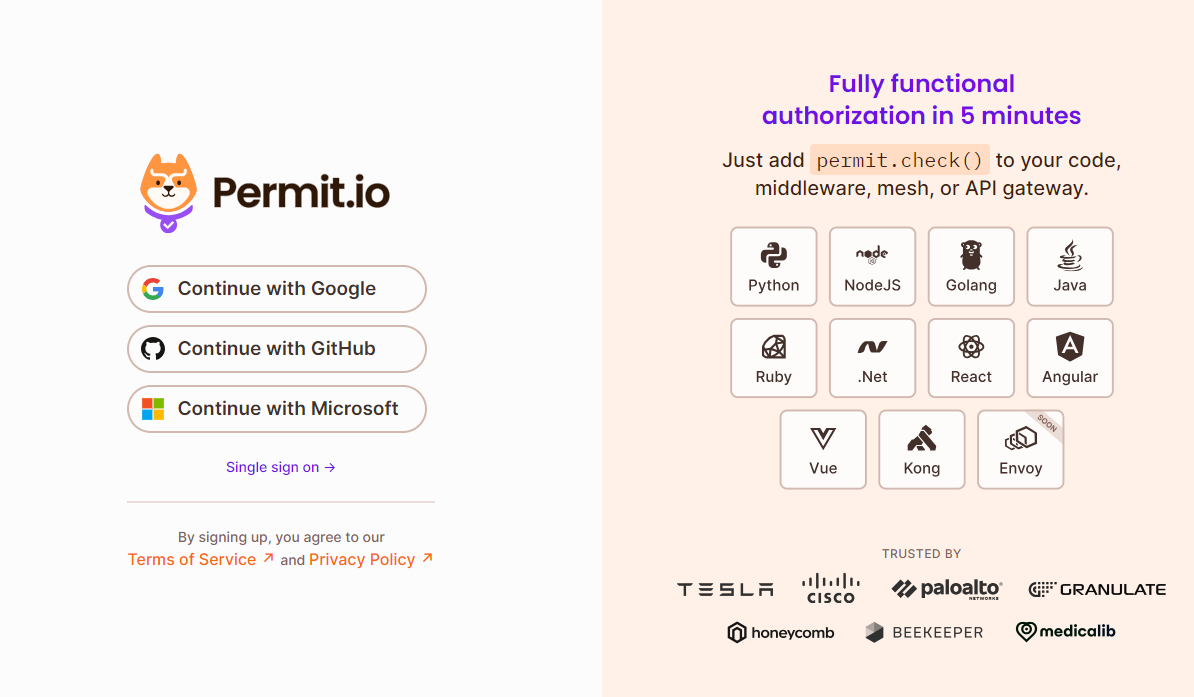
You can log into Permit with your Google / GitHub account. Permit also offers Single Sign-On (SSO) login functionality, allowing users to access their accounts using enterprise credentials. SSO is provided as the default option in Permit’s Enterprise Tier, or as a standalone option at a yearly defined rate.
To get a custom quote on SSO, reach out to us via our Slack Community.
2. Creating a workspace & naming your organization
First, you will need to create your workspace (Or, organizational account), under which all of your configurations, projects, and environments reside. This will often correspond with your company’s name.
We have a company called "Company A" - this is our business, so that's what we will call our organization
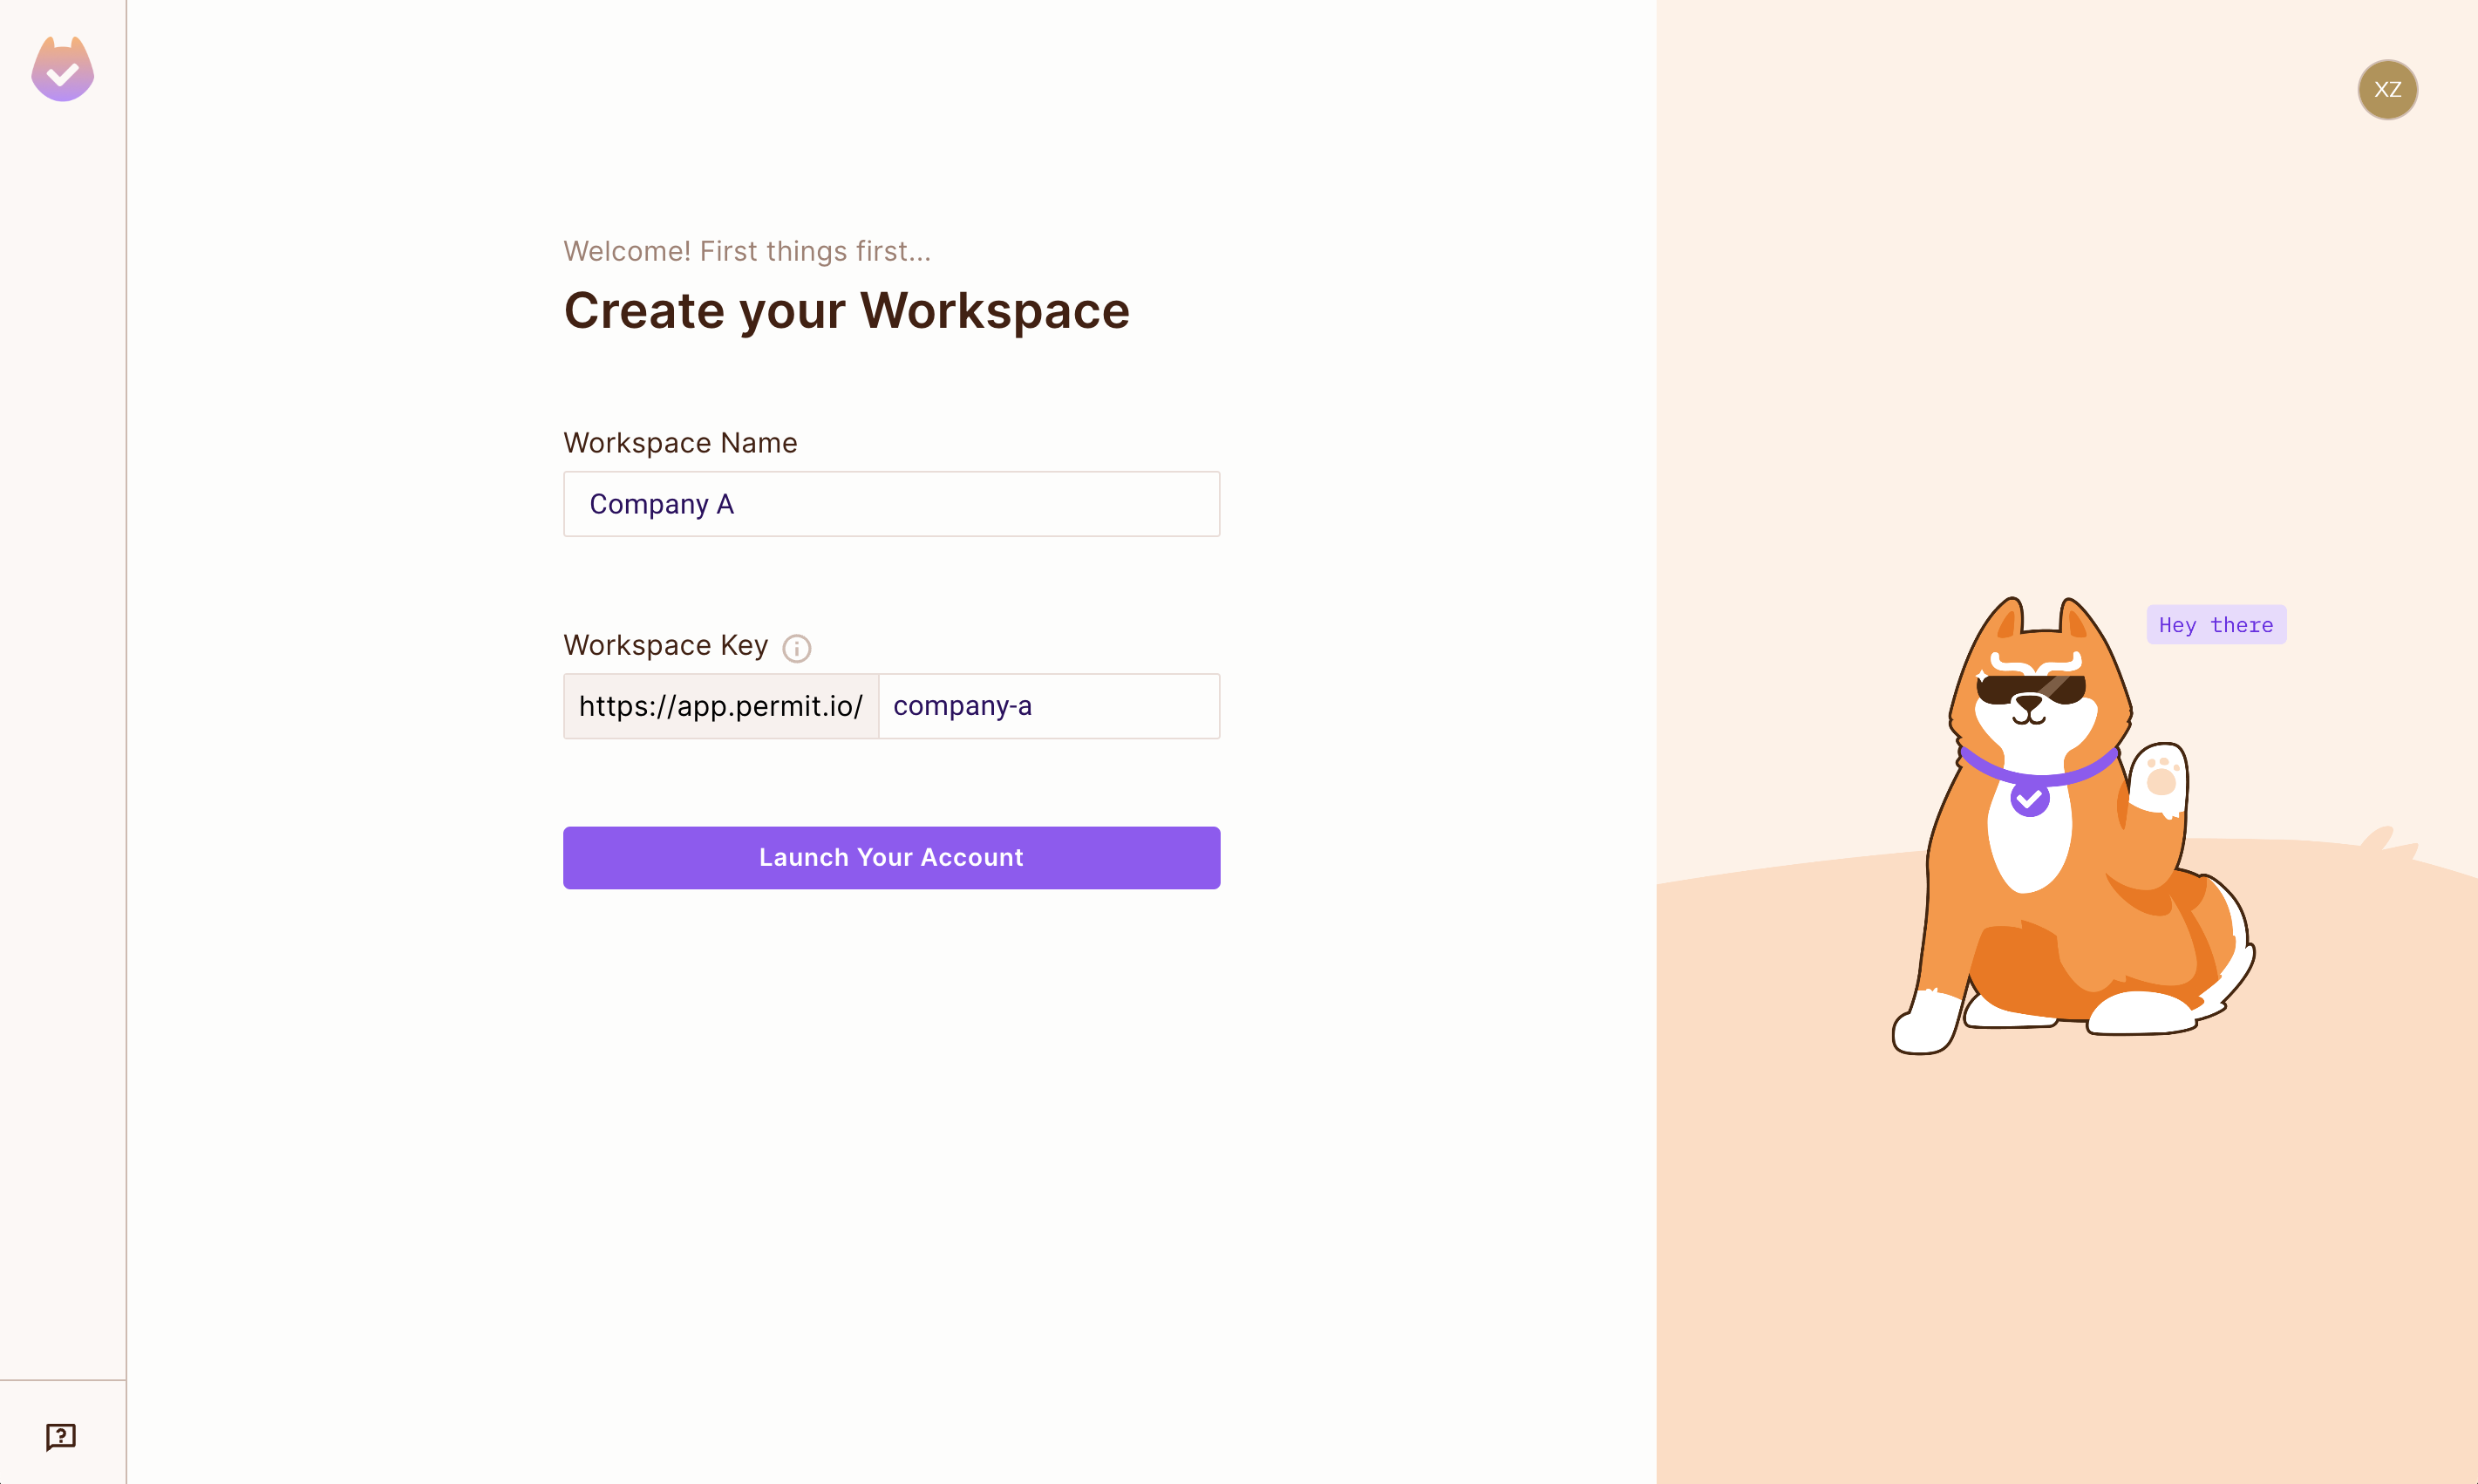
You can have multiple workspaces and switch between them - although usually, you'd only need one. Workspaces are completely siloed from one another.
That’s it! You can now launch your account! 🥳 Now that you have all the basics set up, you can connect Permit to a demo application and see your defined policy come to life.
3. Creating a basic policy
Once we register with Permit and set-up our organization, now it's time to configure out first simple policy. We will be working with the simplest policy model called RBAC (Role-based Access Control).
The idea of this simple guide is to show you how you create your first role, add a resource, and actions to that resource, and then assign the role to a user.
Creating a role
The first step is to create a role for each user. In this example, we will create a role called Admin.
Creating a resource and actions
Once we created our role, the next step is to create a resource, and actions that we can perform on that resource. In this example
we create a resource called a Document and utilize the basic pre-defined actions Permit provides (create, read, update and delete),
as well as assign our own bespoke actions: publish.
Creating a user
Now that we have a role, resource and some actions, we need to add a user into Permit, and assign him the role we have created.
Let's add a user called sam@permit.io and assign him the role of an Admin.
The new user will be created in the tenant we are currently working in. If you want to create a user in a different tenant, you can switch the tenant in the "Tenant" dropdown.
Configuring permissions in the Policy editor
Finally, we need to configure our permissions in the Policy Editor, defining what actions Admin role can perform on the Document
resource.
Permit is much more than this simple RBAC example! With our no-code UI and Policy Editor, you are able to create much more granular permissions. Policy models such as ABAC (Attribute-based Access Control) and ReBAC (Relationship-based Access Control), or even the combination of them both is now really easy to configure.
4. What's Next?
Now that you've seen the basics, you can dive deeper into utilizing Permit for your authorization needs. Here are some guides to get you started: