SCIM Integration with Permit.io via Entra ID (Azure AD)
Connecting SCIM with Permit.io
This guide will walk you through integrating SCIM with Permit.io using Entra ID (Formerly Azure Active Directory). SCIM (System for Cross-domain Identity Management) allows you to manage user identities seamlessly across systems.
Using "Provision on-demand" feature in Entra ID has known limitations, therefore we recommend using "Automatic" provisioning mode. To read more about "Provision on-demand" known limitations, click here.
Prerequisites
Before you start, ensure you have the following:
- Permit API Key (How to get Permit API Key)
- Permit's project ID and environment ID (How to find Permit's project ID and environment ID)
- Entra ID account
Configuring Entra ID with SCIM
- Log in to your Entra ID account.
- Click on the
Enterprise applicationstab under theApplicationssection.
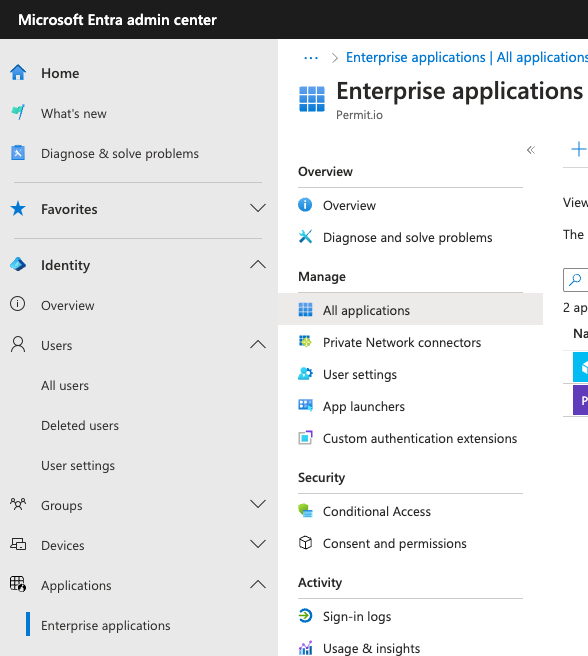
- Click on the
New applicationbutton.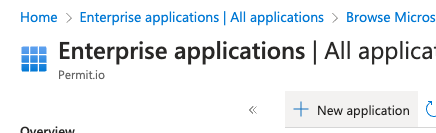
- Click on the
Create your own applicationbutton.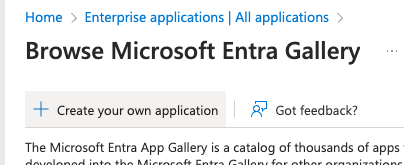
- Enter the name of the application and click on the
Createbutton.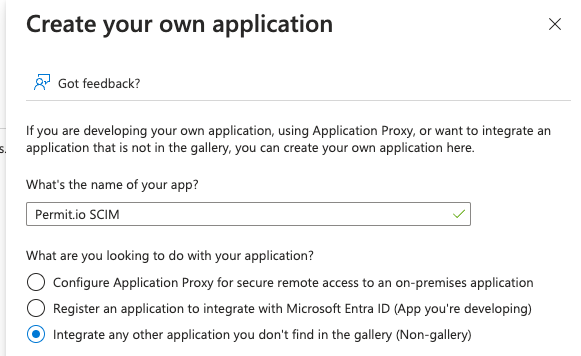
- (Optional) Add users and groups to the application in the
Users and groupstab.
- Now on the
Provisioningtab, click on theGet startedbutton and select theAutomaticProvisioning mode.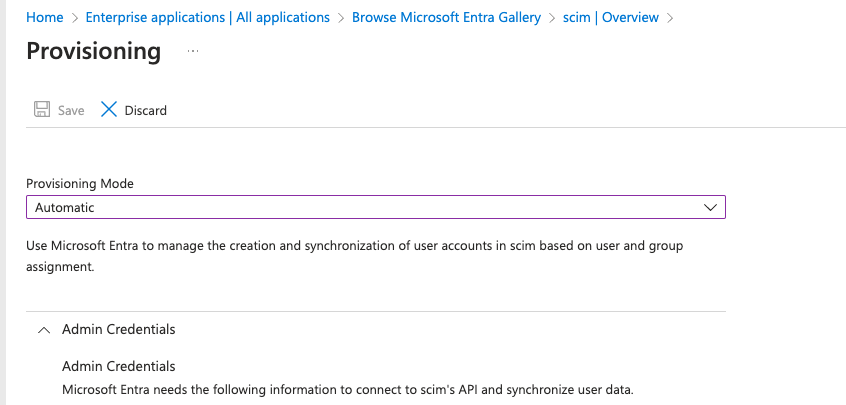
- Enter the following details:
Tenant URL: https://scim.permit.io/scim/v2/{permit_project_id}/{permit_env_id}
- Optional: base URL for EU users
https://scim.eu-central-1.permit.io/scim/v2/{permit_project_id}/{permit_env_id}.
Replace {permit_project_id} and {permit_env_id} with your Permit project ID/Key and environment ID/Key respectively
Secret Token: Your Permit API Key - (How to get Permit API Key)

- Click on the
Test Connectionbutton to verify the connection, then click on theSavebutton.
Testing the SCIM Integration
You can now test the SCIM integration by creating a new user in Entra ID and verifying if the user is created in Permit.io.
- Create a new user in Entra ID and assign it to the application you created - following step 6 from before.
- After clicking on the
Provisioningtab, go toProvision on demand. - There, you can provision the user to Permit.io by searching the user and clicking on the
Provisionbutton.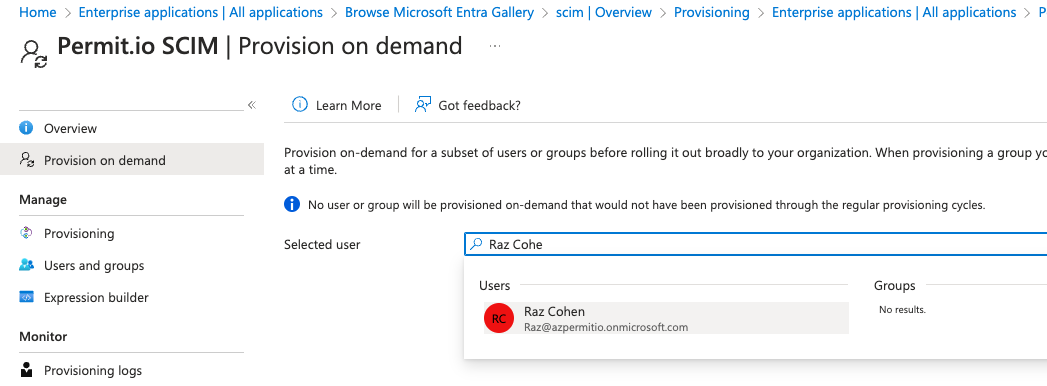
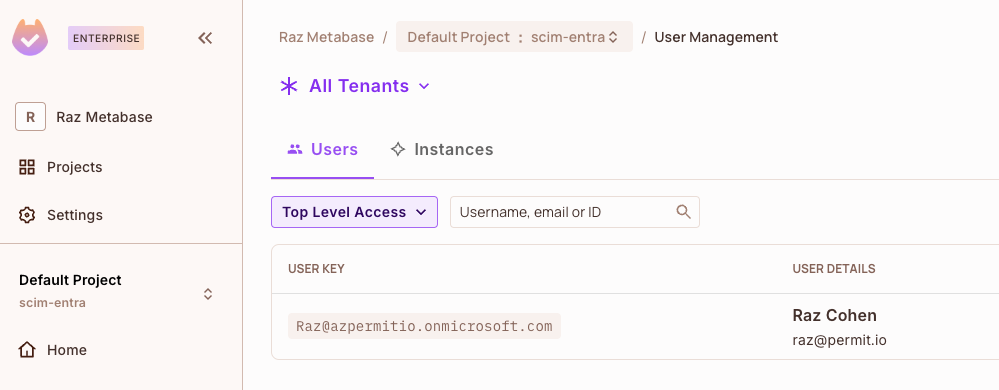
- You can take a look at the
Provisioning logsto see the status of the user provisioning.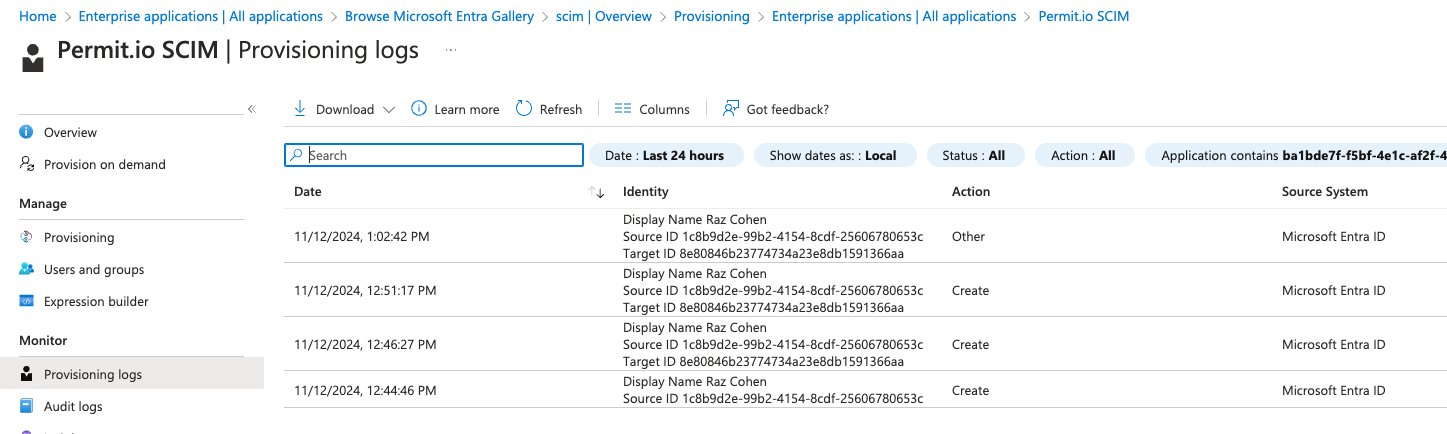
- You can also verify the user in the Permit dashboard - and as you can see, the user has been successfully created !