User Management
Your end-users are probably the main reason you create your application.
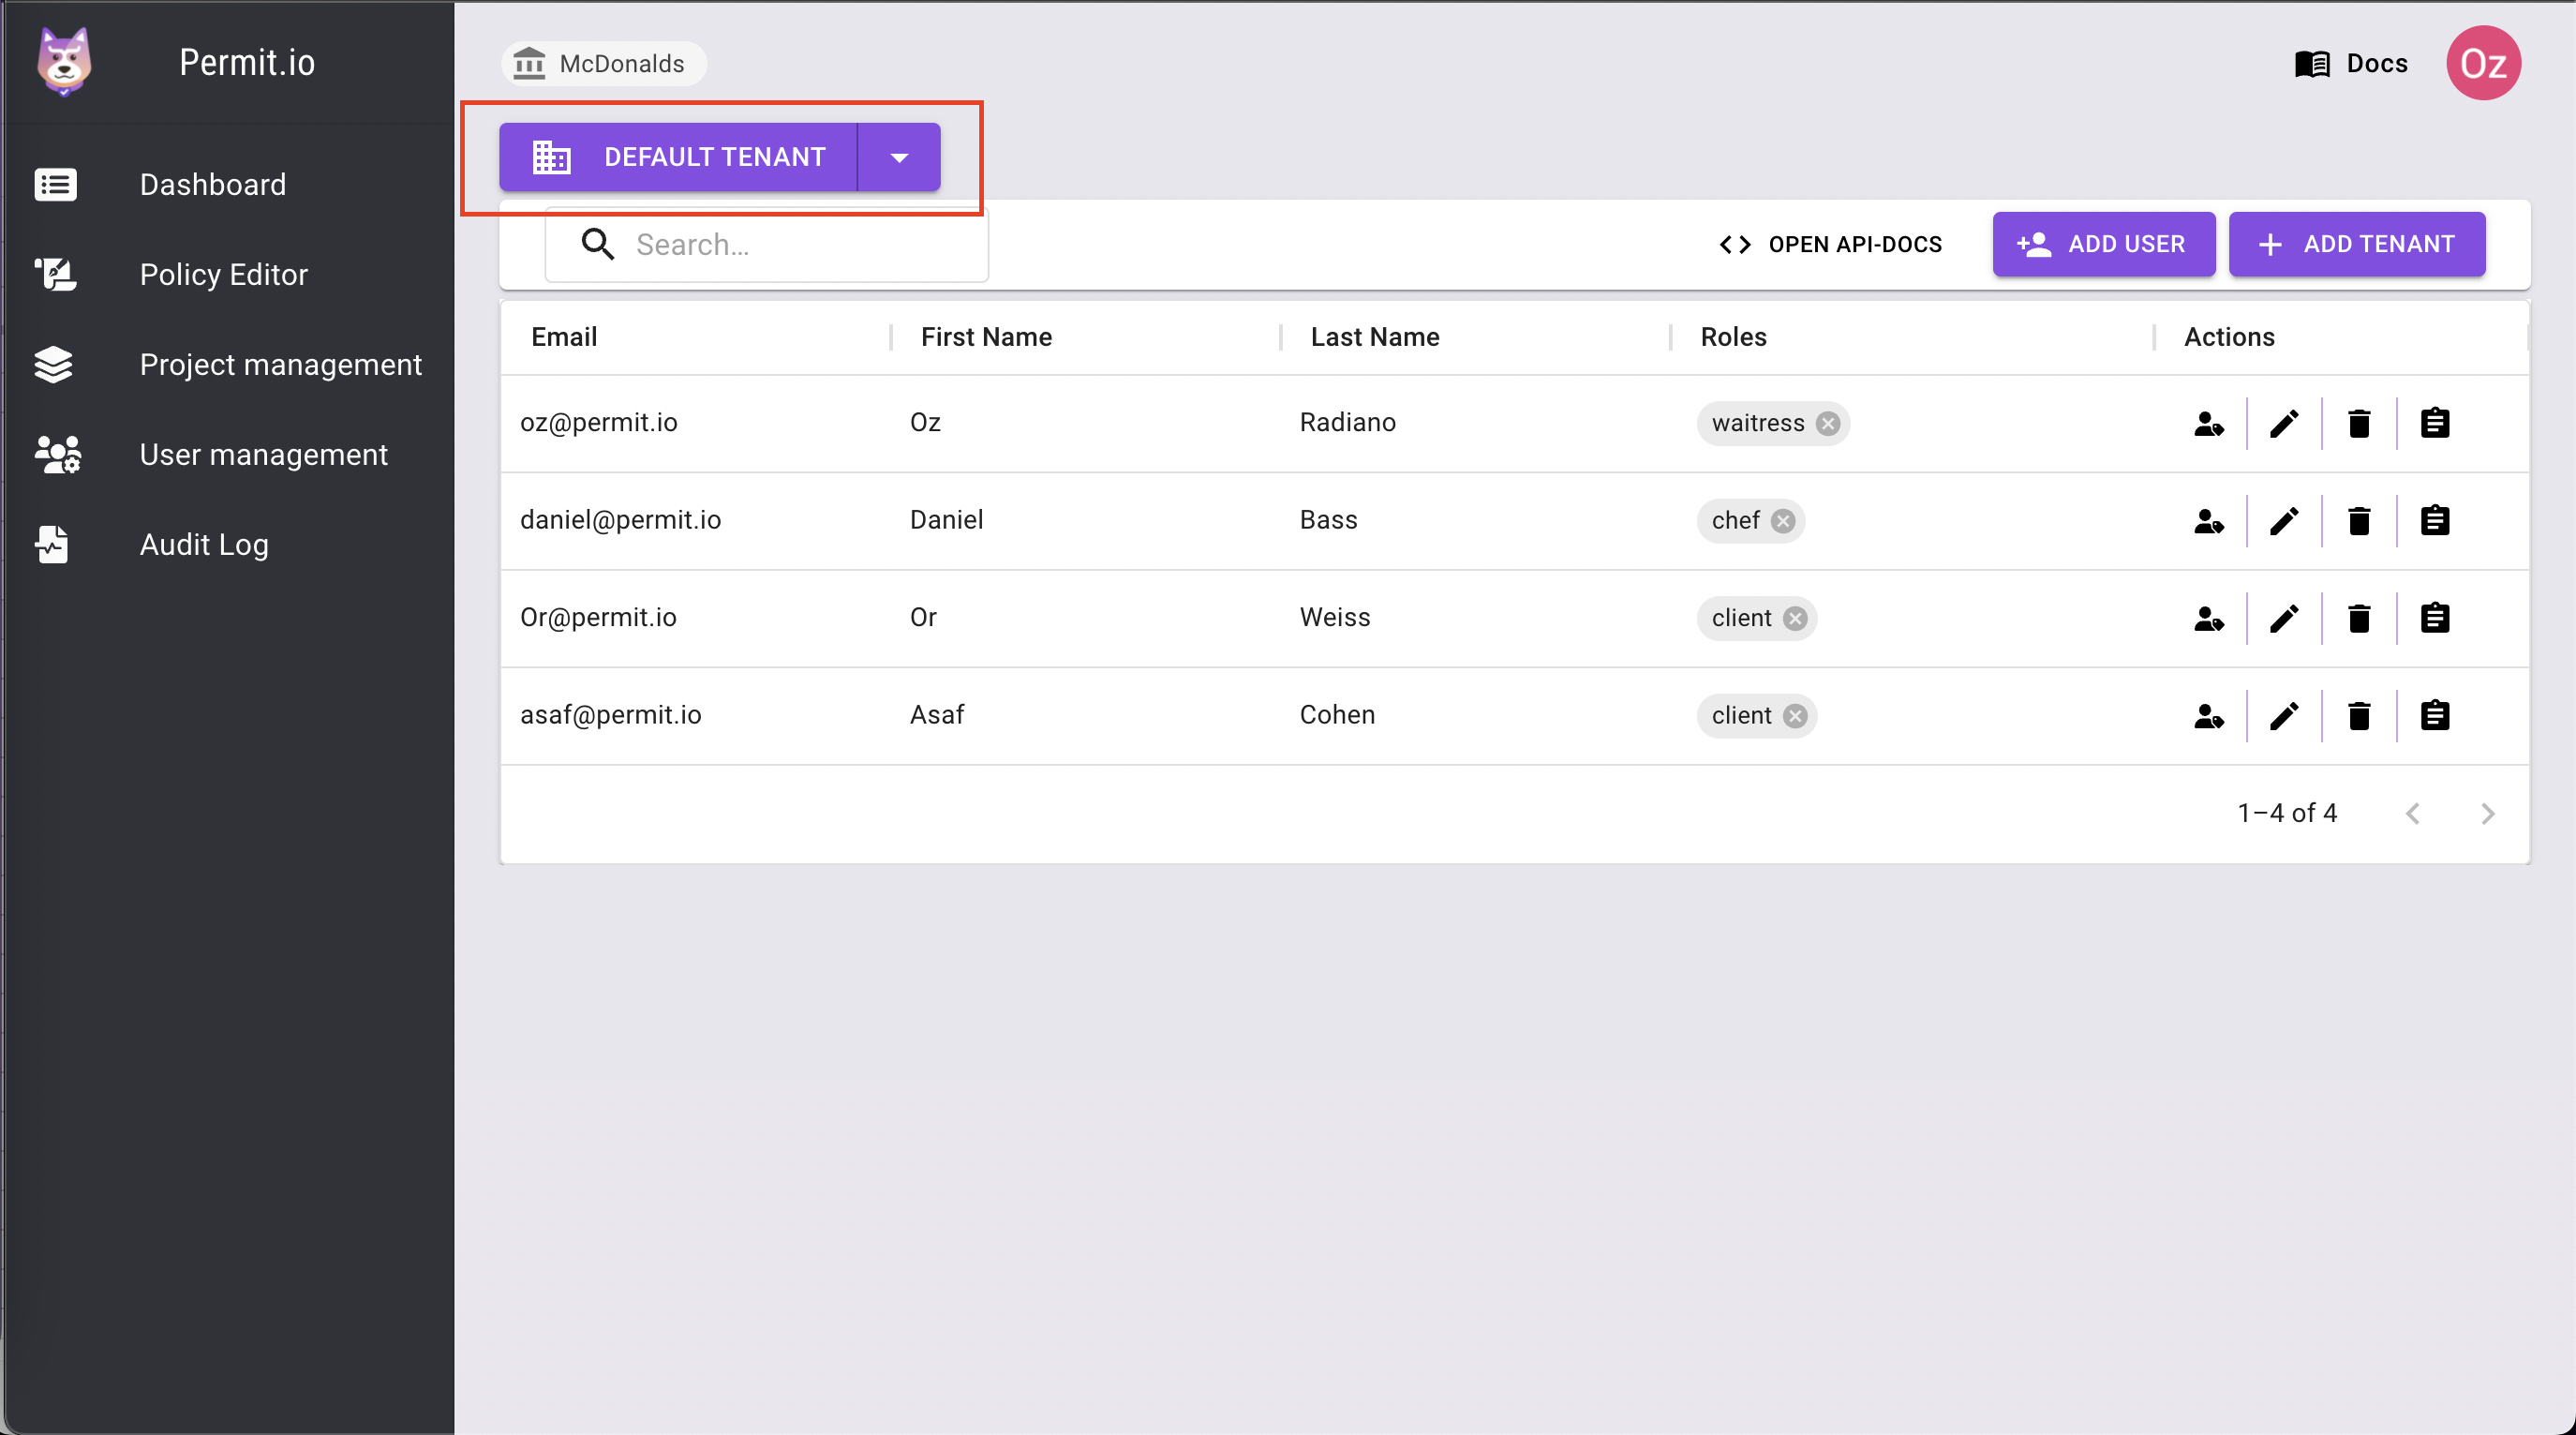
Via the User Management web interface you can control your users -
- create new users
- update existing users
- delete users
- assign roles to each user
- assign users to tenants.
This is of course in addition to the API.
Users
Users can represent both people and automated entities. Users are assigned to tenants (each user can belong to more than one tenant) and can then be assigned roles and permissions.
The user's granted roles and permissions will decide what actions in your app will be allowed or denied for that user.
Users are nested under tenants.
Each user can be associated with multiple tenants.
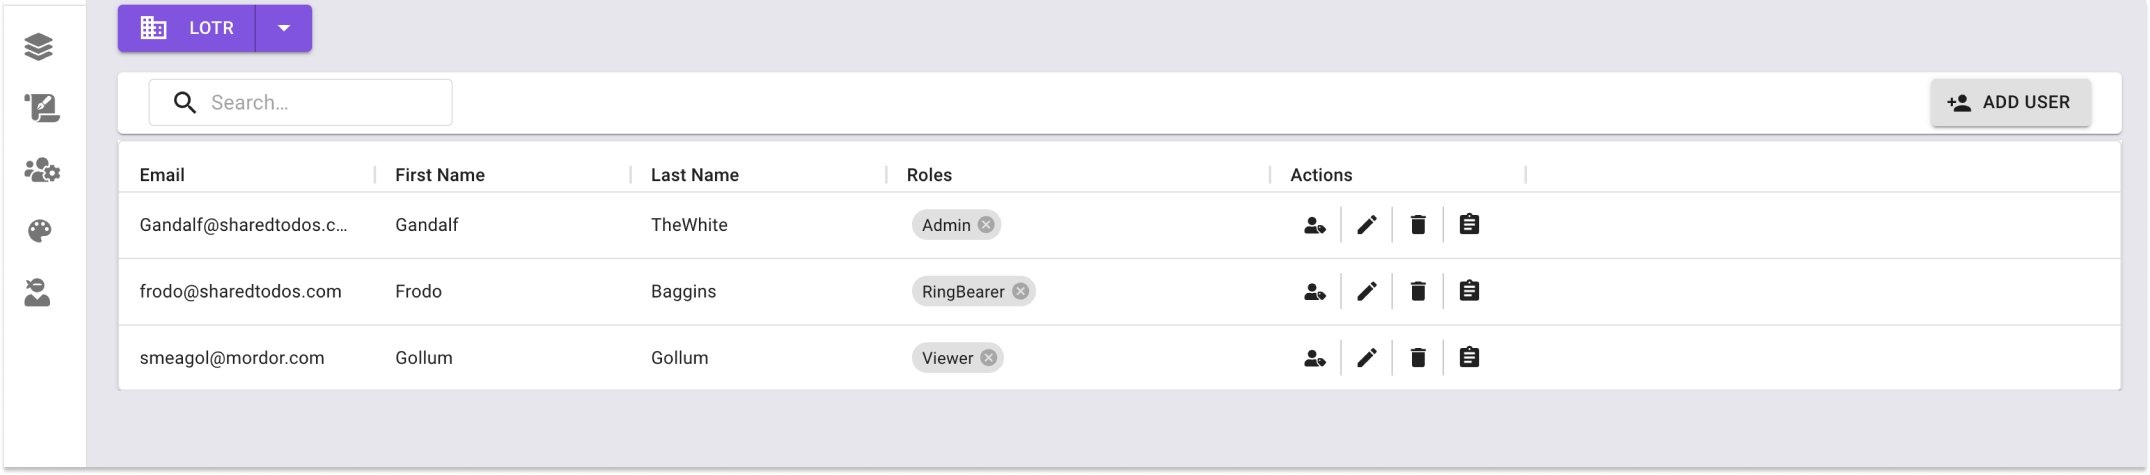
Above is a User Management example with three users - Gandalf, Frodo and Gollum, all residing in the LOTR tenant.
Each user has a unique id (not visible in the screenshot), thats composed of -
- First Name
- Last Name
- Role
Tenants
A tenant is a group of users that share a common organizational identity. Usually, each tenant will represent one of the end-customer companies in your product (i.e. the company that you sell to).
The tenant feature we enable you to have multi-tenancy straight out of the box.
Single Tenant Mode
You can pass a tenant identifier for every permit.check() call you perform,
but for cases where you have a single tenant, you can use the tenant parameter in the SDKs init() function to specify the
tenant to be used as a default.
This can be useful in multi-tenancy scenarios, where you have a default global organization to which people belong to.
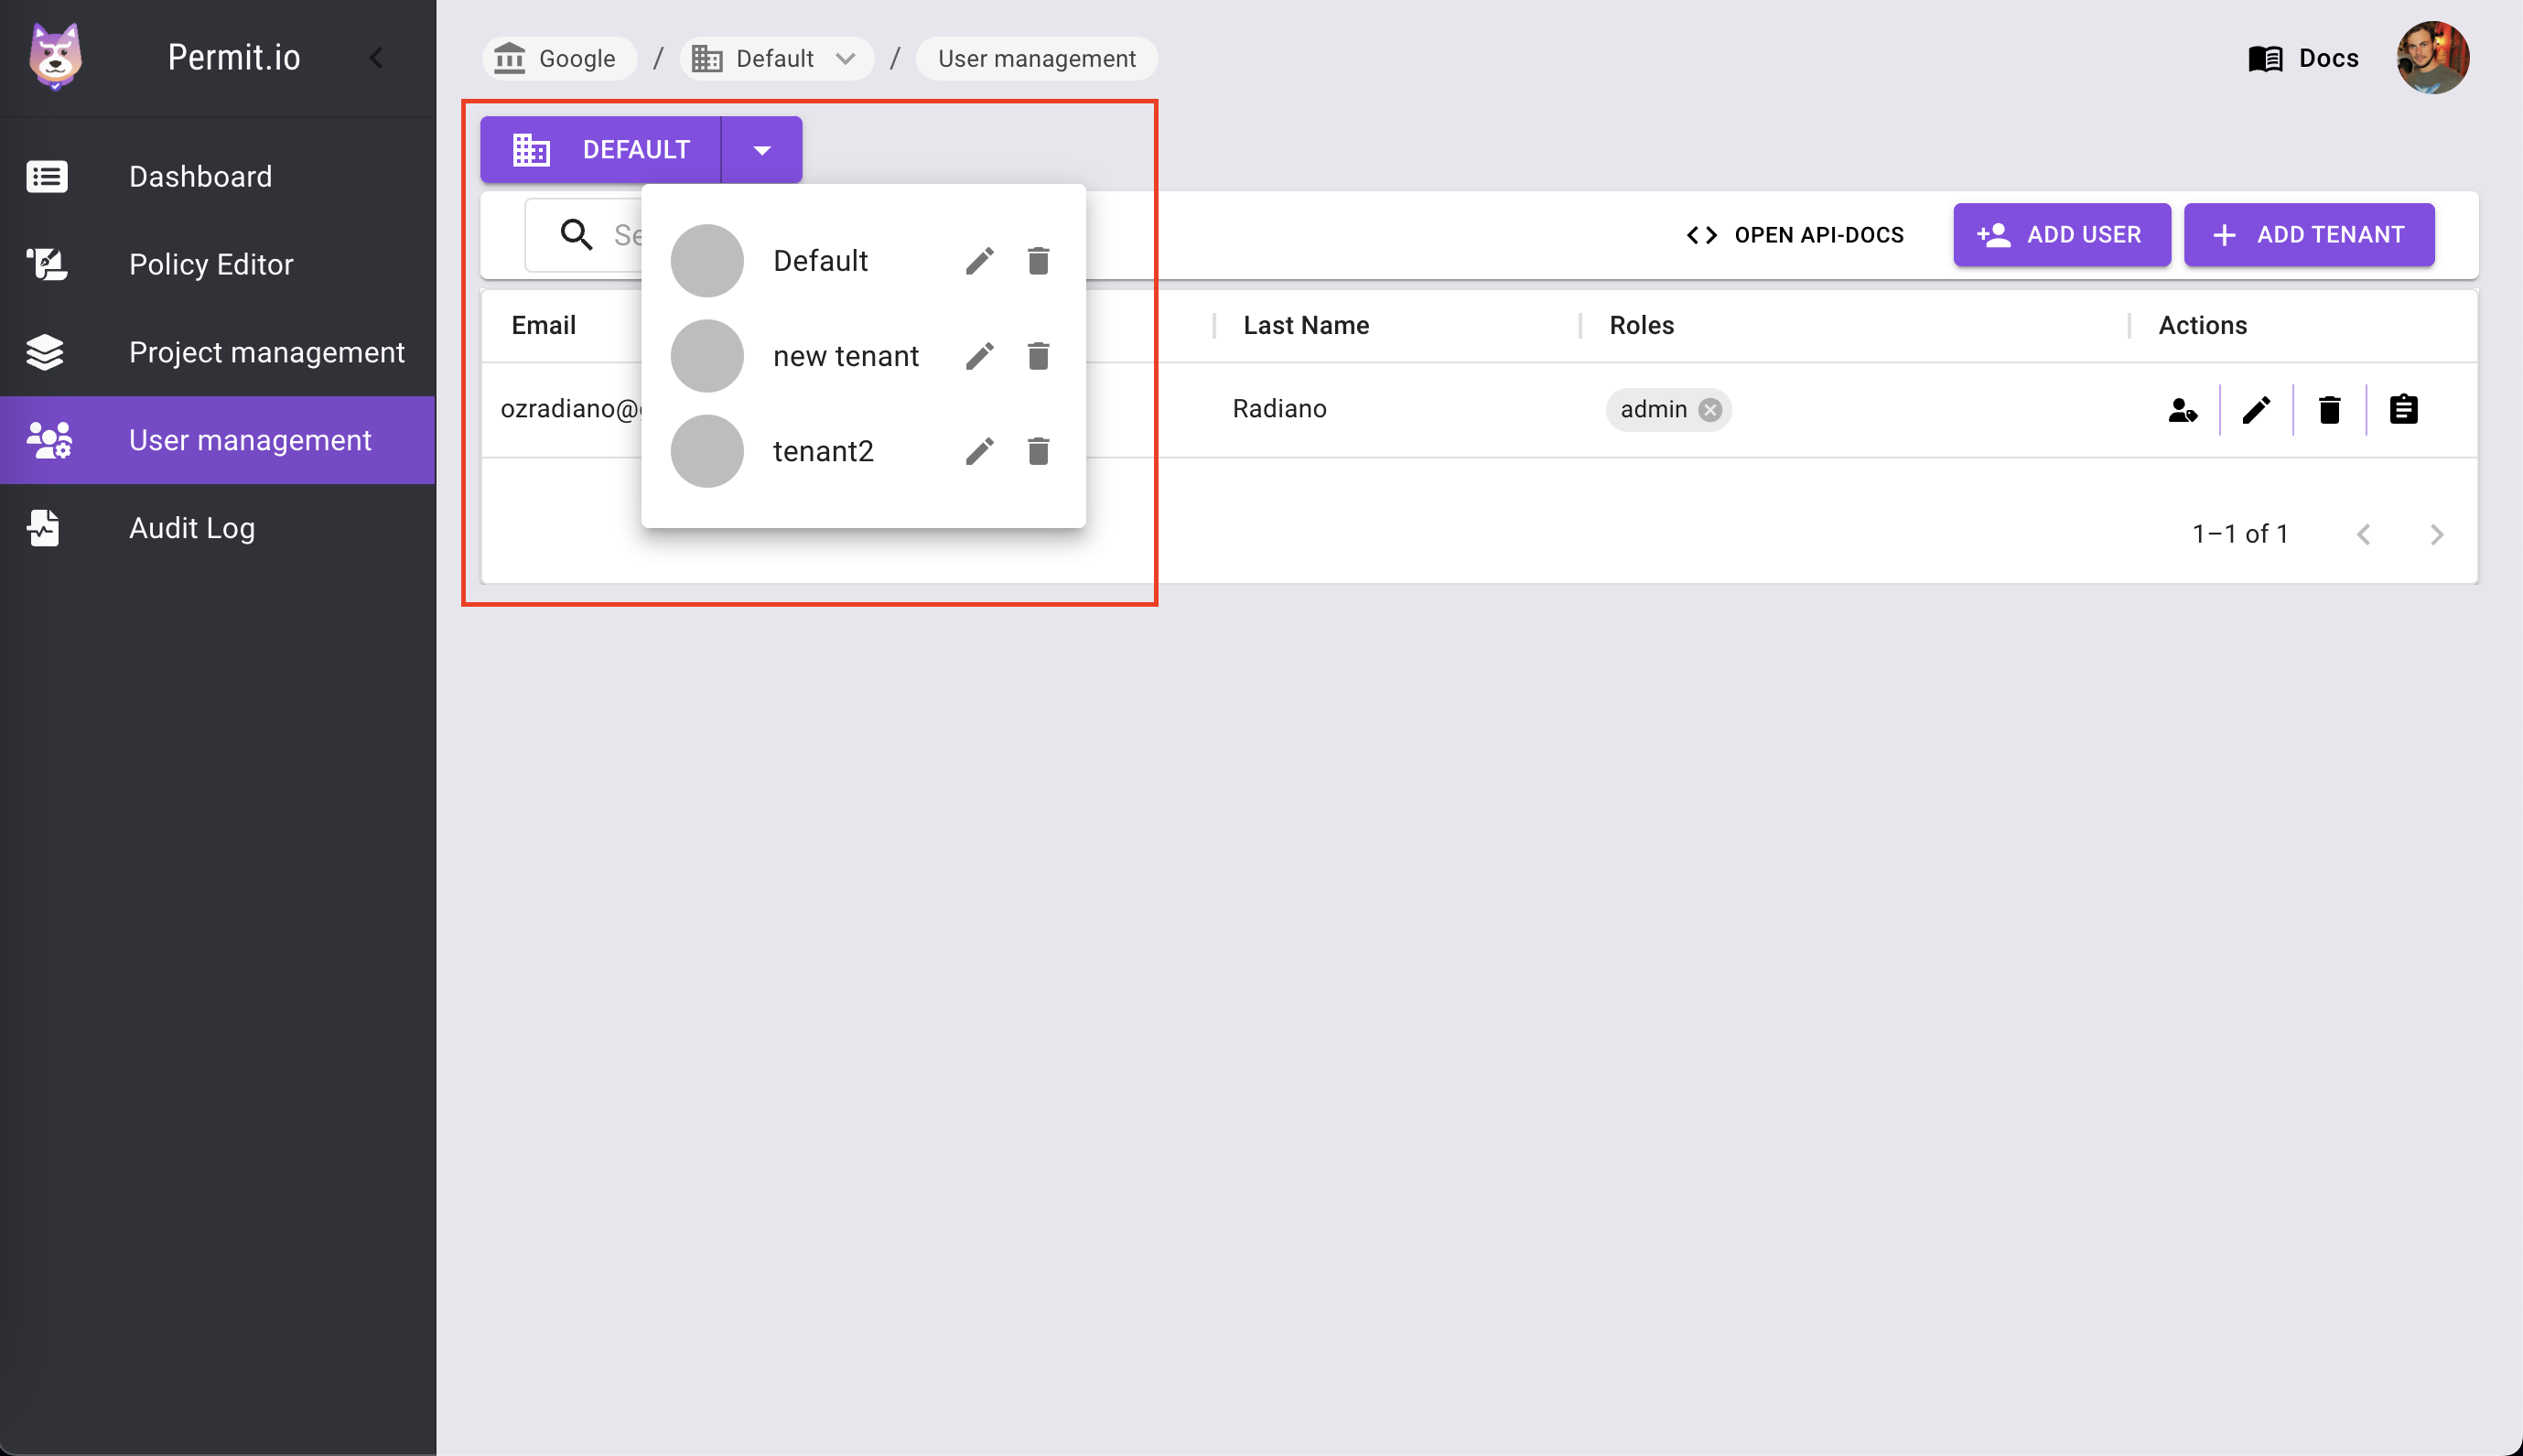
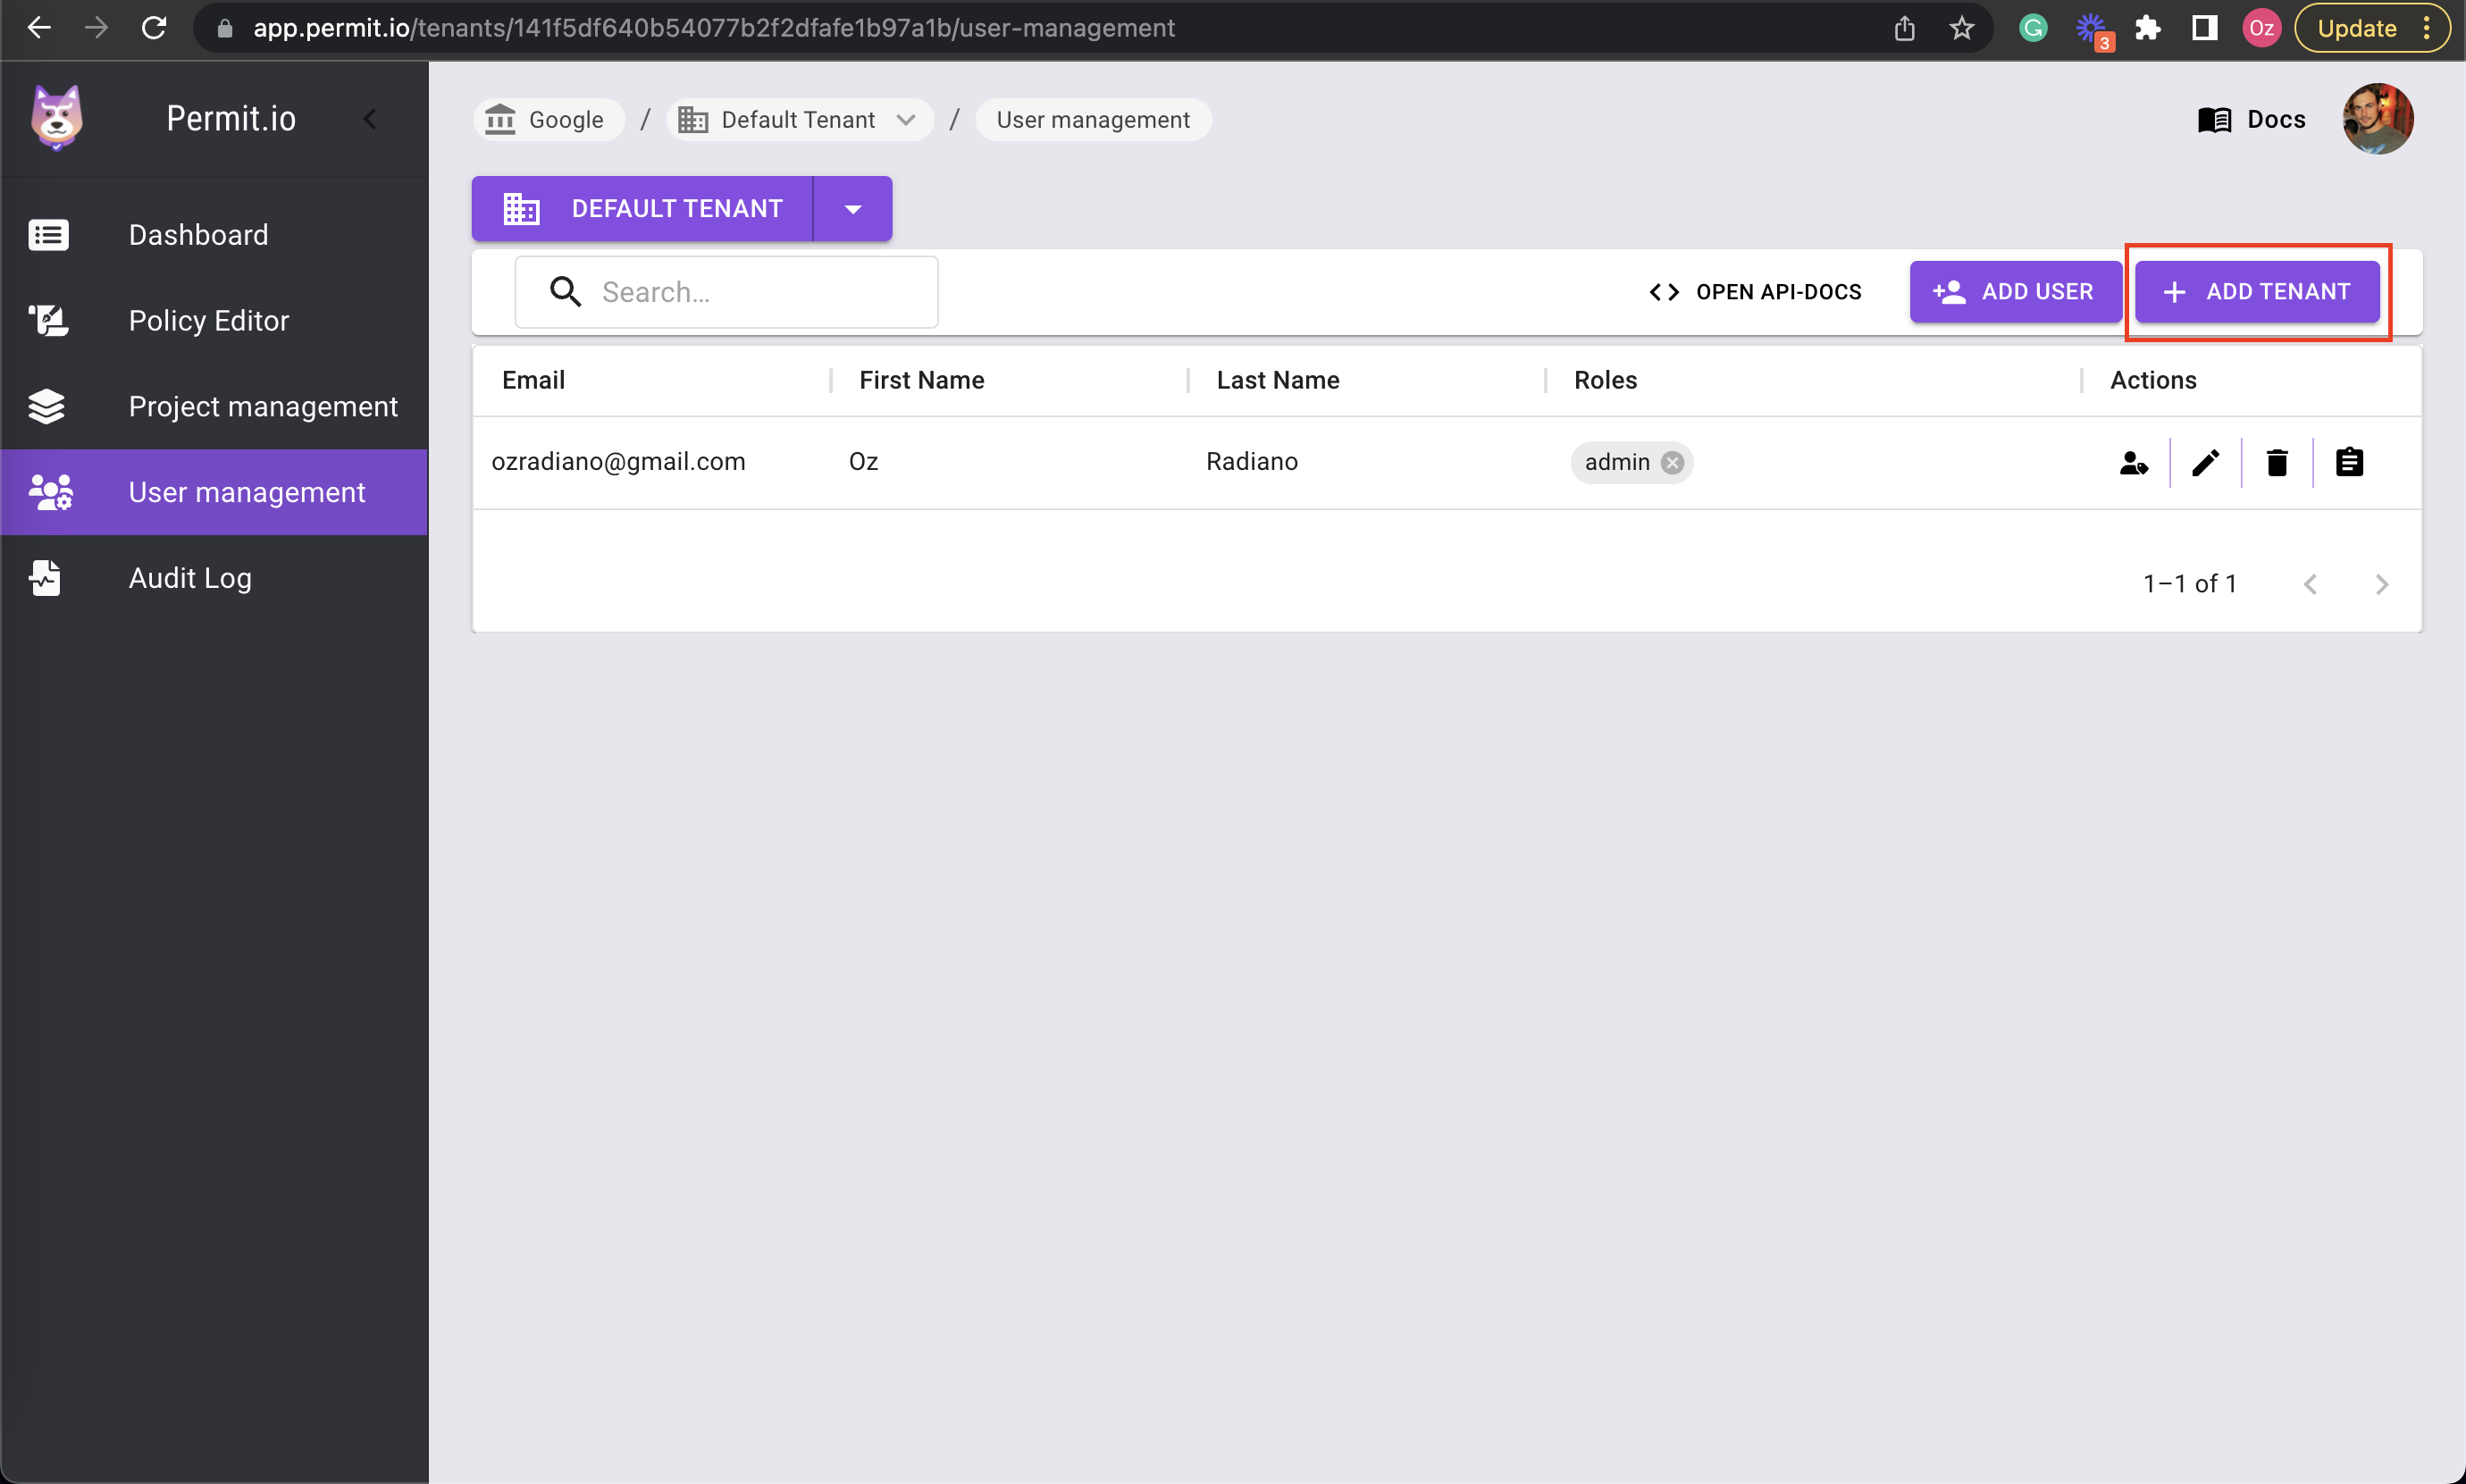
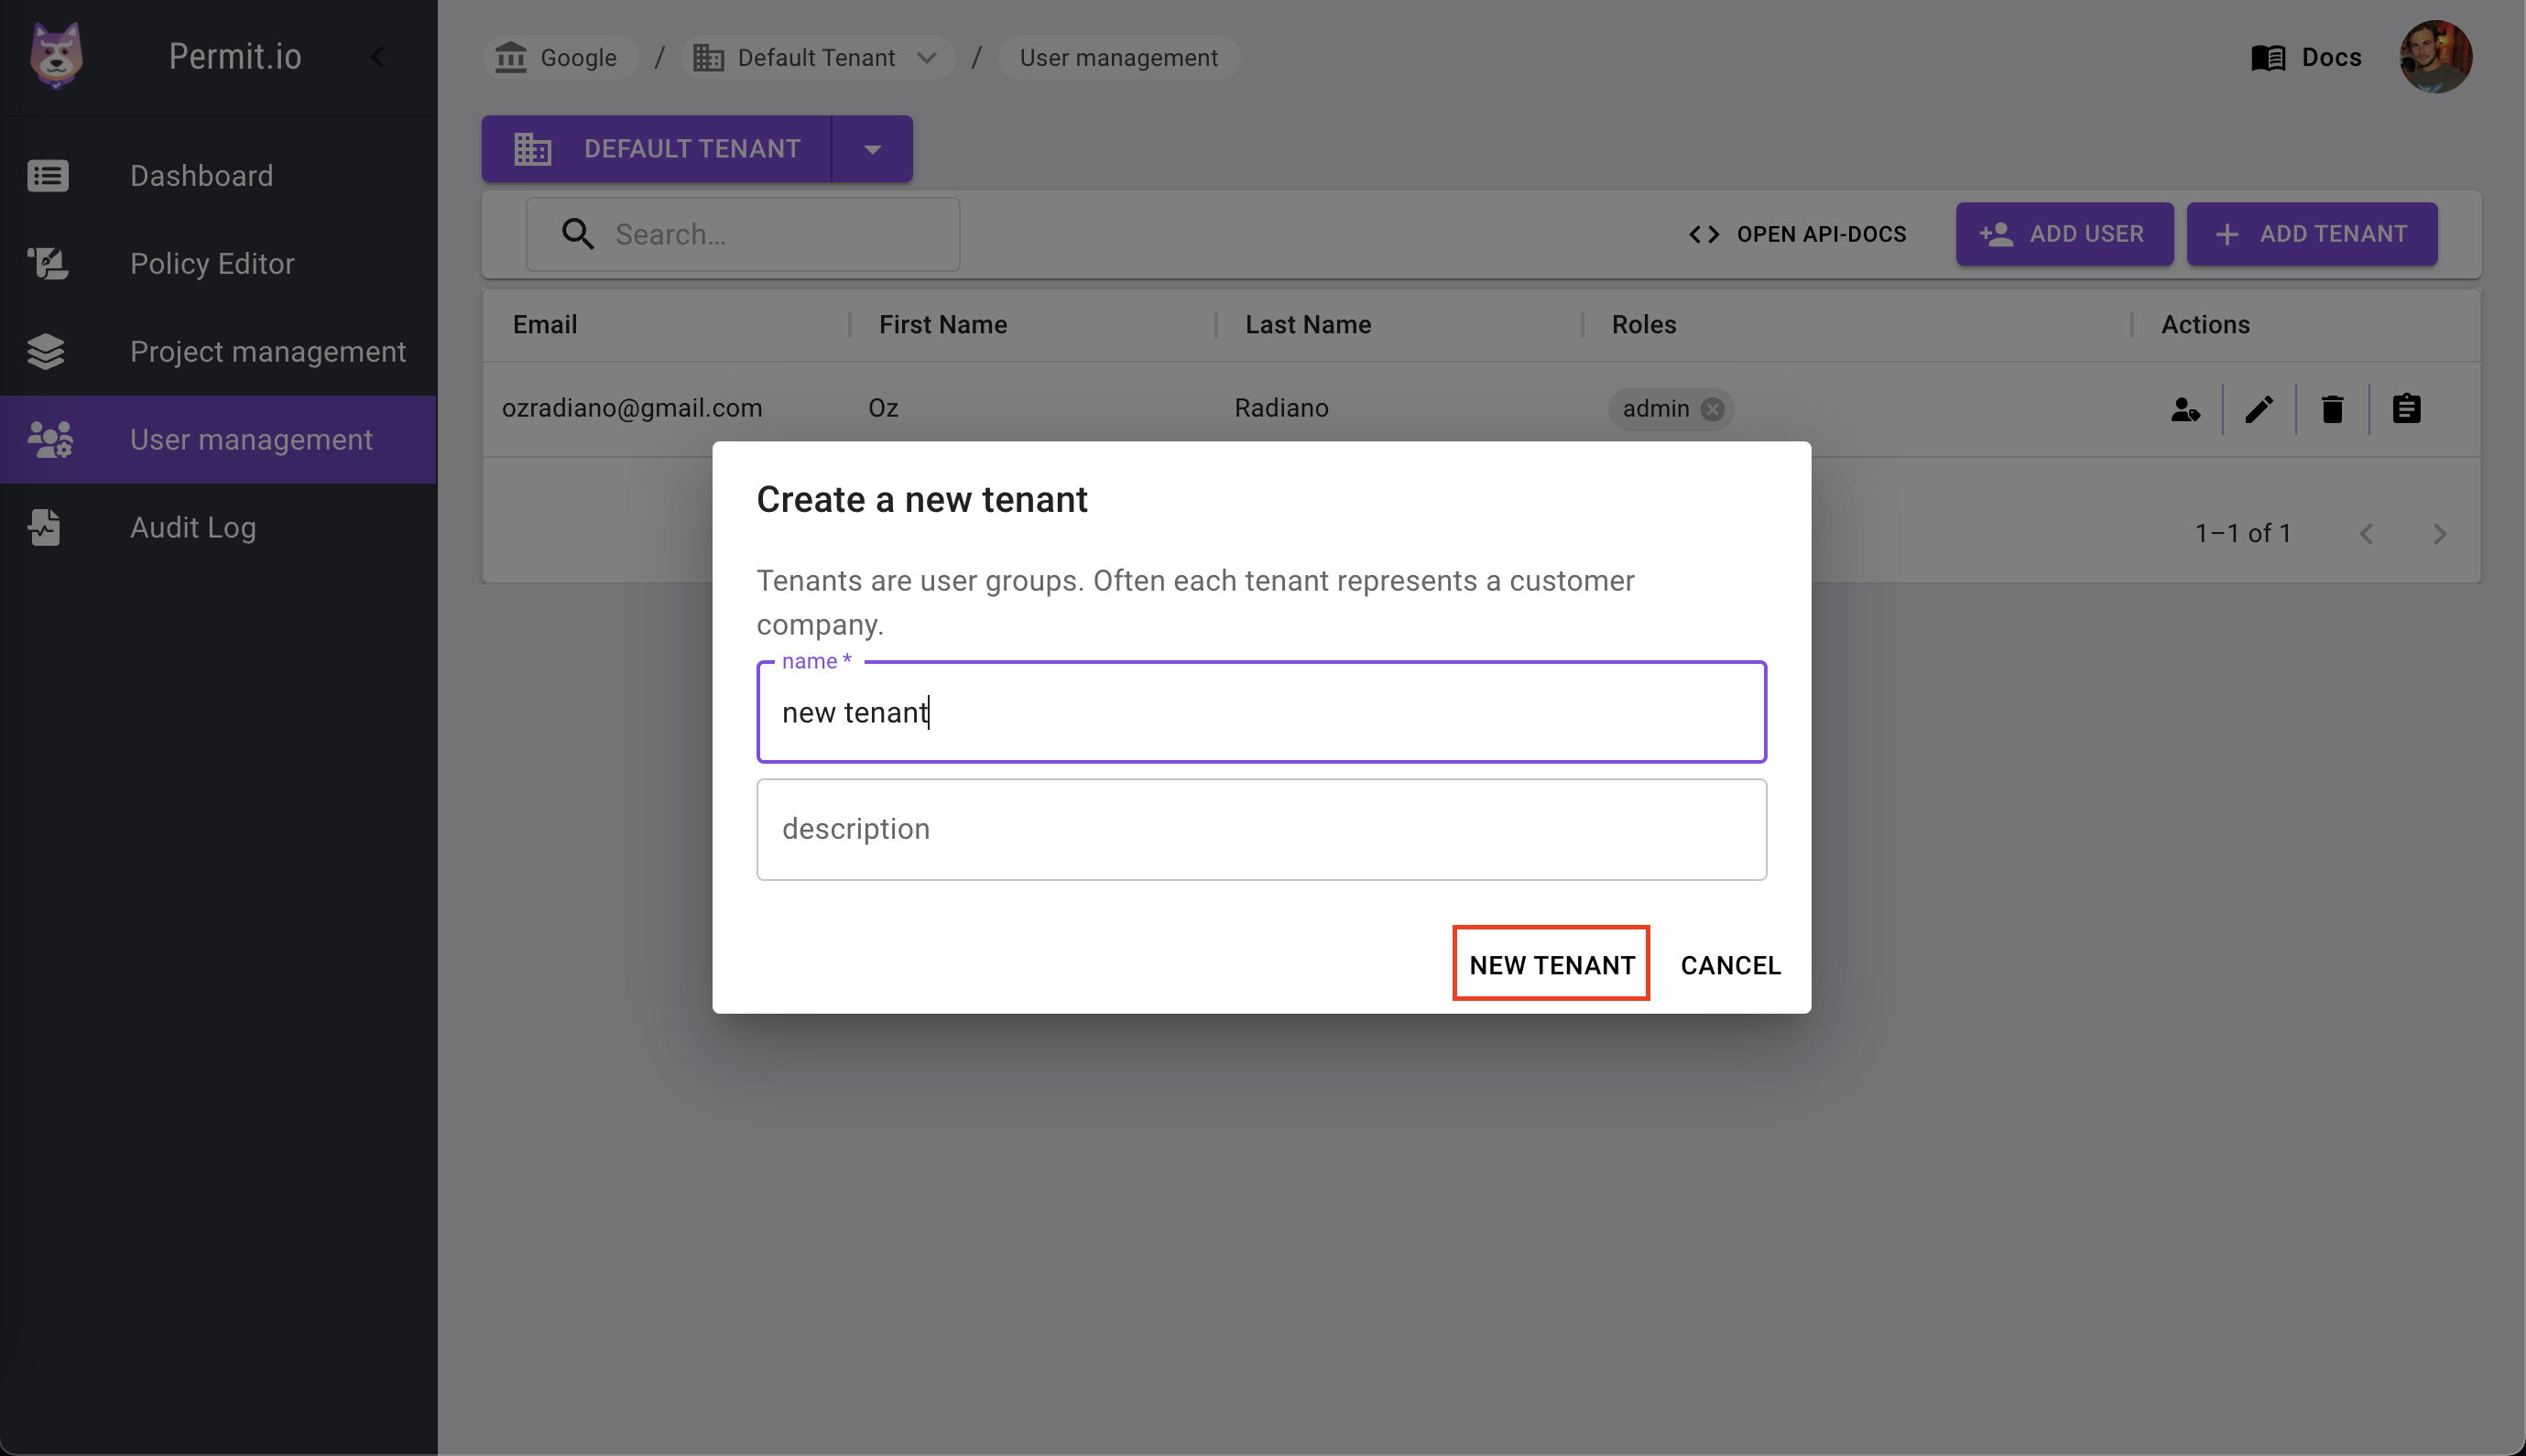
Adding a new tenant
To add a new tenant, click on the "Add Tenant" button.
Then, fill in the name of the new tenant and click on the "New Tenant" button.
Switching between tenants
To switch between tenants, click on dropdown arrow and choose the appropriate tenant.